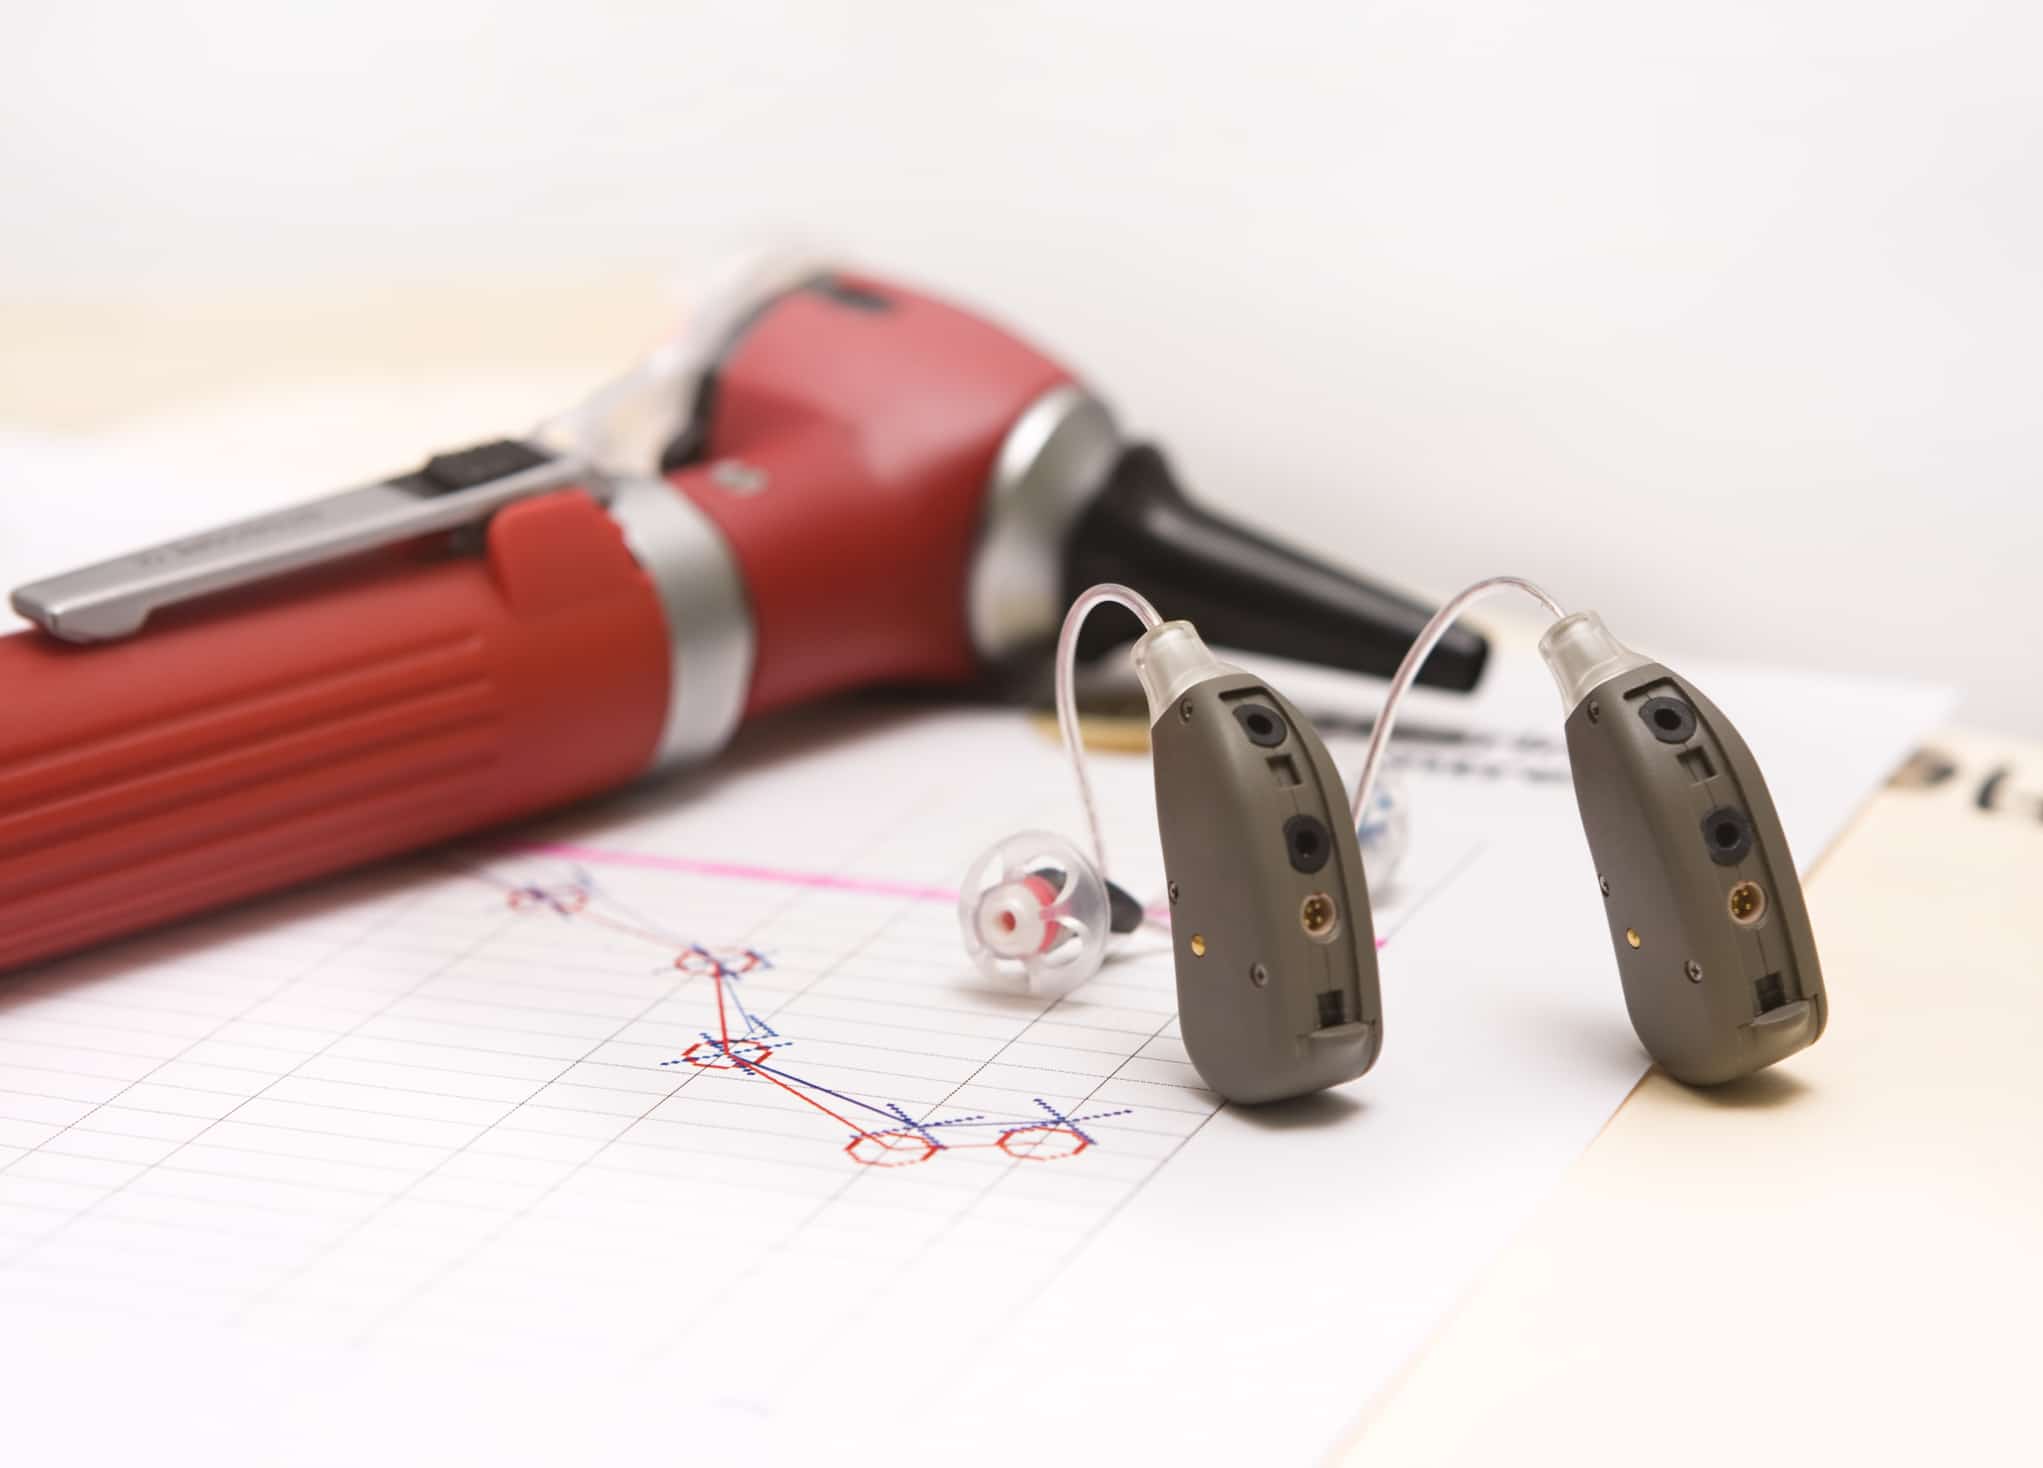
Hearing aids are incredible little machines. They’re also exposed to sweat, earwax, humidity, pockets, purses, accidental drops, and all kinds of daily chaos. So when something goes wrong, the panic is real. Are you supposed to fix the issue yourself? Or do you need professional help?
Here’s the thing. There are moments where a simple reset or a quick cleaning gets them working again, and then there are times where only a trained expert can properly Fix broken hearing aids without making the situation worse.
Let’s break down what’s smart to handle at home—and when it’s worth calling in support.
It’s easy to forget how tiny and powerful hearing aids are. Most contain microphones, receivers, amplifiers, processors, and tiny wires packed into a device smaller than a loonie. Add in real-life exposure: moisture from sweat or rain, wax buildup, and the occasional pet mistaking one for a chew toy.
Common causes of sudden malfunction:
- Blocked sound outlet or microphone
- Dead or dying batteries
- Moisture damage (especially from shower steam or heat)
- Loose tubing in behind-the-ear devices
- Broken receiver wires in RIC models
- General wear and tear from long-term use
None of this means your device has reached the end. It means troubleshooting begins.
Before assuming anything is broken, run through these basics. They fix a surprising number of problems.
- Replace the battery or fully recharge your device
- Ensure the hearing aid is turned on (yes, it happens!)
- Check volume and program settings
- Clean the microphone and receiver openings
- Replace wax filters/screens
- Ensure tubing is firmly attached and not cracked
- Dry the device using a hearing aid dehumidifier
If it suddenly sounds weak or blocked, earwax is often the culprit. Research suggests 60–80% of device “problems” come down to wax obstruction. A quick cleaning can save a repair bill.
Some fixes are gentle and low-risk. If the cause is surface level, you can safely DIY without jeopardizing the device.
Examples of DIY-safe issues:
- Dirt or wax buildup on the outside
- A clogged wax guard
- Minor tubing disconnections
- A loose battery door
- Basic Bluetooth reconnection issues
- A stubborn setting needing a reset or restart
Soft toothbrushes and a cleaning cloth go a long way. Many clinics also provide small cleaning kits. If the hearing aid turns back on and sounds normal, you’re in the clear.
It’s all about knowing your limits. And that means understanding when not to mess with internal components.
If something involves internal wiring, moisture inside the casing, or major sound distortion, don’t take a screwdriver to it.
These issues require a specialist:
- No sound, even after replacing the battery and cleaning
- Constant feedback or whistling that settings can’t fix
- Distortion, crackling, or intermittent cut-outs
- Device physically cracked or bent
- Buttons, ports, or volume control stuck
- Visible corrosion around battery terminals
- The device feels unusually hot while charging
Professionals have micro-tools and diagnostic software that reveal errors you can’t see. They also ensure any opened casing is properly sealed again. DIY attempts at “opening it up and checking inside” almost always make things worse—and more expensive.
A proper repair isn’t guesswork. Specialists follow a specific process to test each component independently.
What might happen at an appointment:
- Diagnostic sound checks
- Microphone and receiver testing
- Cleaning with suction tools
- Replacing tubing, domes, wax traps, or receivers
- Removing moisture using special dryers
- Updating or reprogramming software
- Sending to the manufacturer if internal failure is detected
They don’t just restore sound quality. They protect the device from future damage as well.
The technology evolves fast too. Modern devices have wireless streaming, rechargeable batteries, directional microphones, and feedback-management systems. All of it requires professional calibration when things go off course.
Pricing varies based on whether the issue is cosmetic, electronic, or performance-related. Here’s a general sense of what people can expect:
- Minor cleaning or parts replacement: Often complimentary or low-cost
- Receiver or wiring fixes: Moderate repair costs
- Major internal damage: Manufacturer service fees may apply
- Out-of-warranty devices: Higher repair estimates or replacement recommendation
Insurance or extended warranties can reduce or eliminate repair costs. If your device is more than five years old, you might be presented with an upgrade option instead—because technology improves dramatically every few years.
Water doesn’t need a splash zone. Even humidity from a hot yoga class or wearing a toque during winter can slowly damage internal circuits.
Tips to keep devices safe:
- Remove before showering or using hair products
- Avoid leaving them in the washroom
- Use a dehumidifier case overnight
- Consider moisture-resistant models if you live an active lifestyle
Excess condensation also increases the chance of bacterial buildup. That can lead to skin irritation in or around the ear. Quick daily drying can extend a device’s lifespan by years.
Sometimes the repair is possible—but not practical.
Ask yourself:
- Is the repair cost close to the cost of a replacement?
- Do you struggle with outdated features that limit your experience?
- Has your hearing changed and your device can’t adjust enough?
- Is your current model discontinued or unsupported?
If the answer to any of these is yes, a new device could improve your daily comfort, streaming experience, phone calls, and clarity.
Many clinics offer trial periods so you can feel the difference firsthand before committing.
A malfunctioning hearing aid doesn’t have to turn into stress or silence. Start with simple, safe troubleshooting. If the sound still isn’t right, that’s your sign to bring in someone who knows these systems inside and out.
The goal isn’t just making it work again. It’s ensuring your device delivers the clarity and confidence you expect every day.
Better hearing is worth the care.
